Home / Running Tips / Our Mizen-to-Malin Lessons
Two extra legs. Less concern about looking cool.
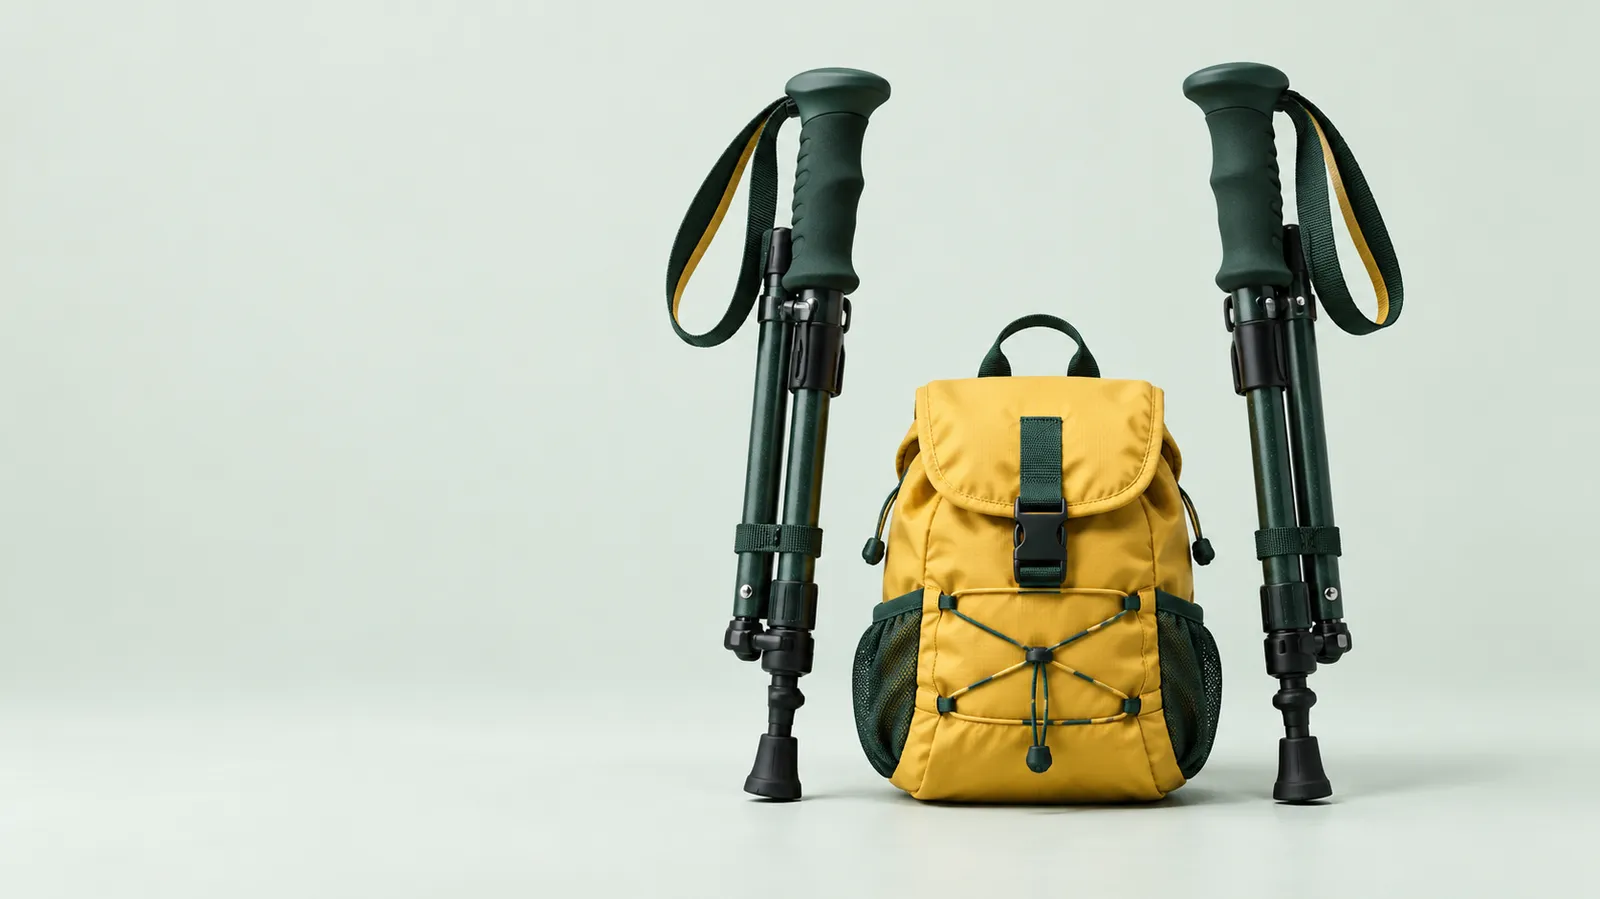
Poles became part of our journey. Practising with them should come before yours.
There is a version of a running adventure where everyone glides along looking athletic. Our version included roadside shoe changes, enormous bags and, eventually, trekking poles.
Matt brought the poles into the story on Day Seven. They became a visible part of how he was moving through the later days, and a reminder that the equipment you planned to use is allowed to change.
- Check the route
- Practise with poles
- Review any pain
The lesson we would keep is being willing to adapt. If poles are suitable for your route and allowed at your event, get familiar with them beforehand. Learn how to hold, plant and stow them while you still have the patience to work out the straps.
Think about the people around you too. A pole tip needs space, especially when you stop, turn or join somebody for a chat. We already supplied enough surprises without adding unexpected extra limbs.
Matt was also dealing with a worsening leg problem. That part of the story is not a recommendation to push through injury. Stop and get appropriate advice when pain changes how you move; poles are not permission to ignore it.
Useful equipment can earn a place. The fantasy of looking effortless can stay at home.
Try this
If poles suit your route and event rules, practise using and stowing them before the trip; treat new pain as a reason to stop and reassess.